Earl Grey Shortbread with Blood Orange Glaze
FROM SUBSTACK
This dough comes together easily in a food processor. If you don’t have a full-size food processor, you can do step 2 in a mini food processor, and, lacking that, grind the tea finely in a spice grinder, zest the orange using a microplane, and continue the recipe by creaming with the butter by hand or using a stand mixer. It’s a small batch, so it’s easy to mix by hand, as long as your butter is nice and soft. The tea is the only part you need a machine for, so if you don’t own any of these, the tea can be omitted. The citrus zest is the dominant flavor, and they will still be delicious without it!
MAKES ABOUT 2 DOZEN
For the cookies:
1 cup/128g all-purpose flour
2 tablespoons cornstarch
1/4 to 1/2 teaspoon kosher salt (as you like it!)
3 Lady Grey or Earl Grey teabags, or 1 tablespoon loose Earl Grey tea
1/4 cup/50g granulated sugar
Zest of 2 blood oranges, or 1 large navel orange
1/2 teaspoon vanilla paste or extract
1/2 cup/1 stick/113g unsalted butter, at room temperature, cut into pieces
Black sanding sugar, white sanding sugar, or Sugar in the Raw
For the glaze:
3/4 cup/92g unsifted confectioners’ sugar
Juice of 2 blood oranges or 1 navel orange (about 1/4 cup; see TIPS if using a navel orange)
1 teaspoon melted butter
Lemon juice, as needed
In a medium bowl, whisk together flour, cornstarch, and salt. Set aside.
Cut open the tea bags and transfer the contents to the bowl of a food processor. Add the sugar and the orange zest (see TIPS), and pulse until everything is finely ground.
Add vanilla and butter and pulse again until well combined, about 30 seconds, scraping the bowl once.
Add flour mixture and pulse until the dough forms a ball.
Scrape once and turn mixture out onto a floured surface using the spatula. With lightly floured hands, work the dough into a cylinder 7 inches long and 2 inches in diameter, patting the ends in a few times and rolling it out again to make it as round as possible while retaining those dimensions.
Roll in the sanding sugar or Sugar in the Raw to lightly coat the cylinder (you’ll need about 2 tablespoons). Pat the ends in one more time and round the cylinder. Wrap in wax or parchment paper, twisting the ends gently, and chill for at least 2 hours in the fridge, until firm. (The dough can be made up to 3 days in advance.)
Meanwhile, make the icing: Place the confectioners’ sugar in a small bowl. Pour the orange juice into a small saucepan and bring to a boil. Cook at a steady simmer until reduced to a syrupy 1 tablespoon, 2 to 3 minutes. This time will vary, especially if your oranges yield more juice, so watch it carefully, and scrape it immediately into the bowl of confectioners’ sugar. Add the melted butter. Stir with a fork, and add a teaspoon of lemon juice if needed to liquefy. Continue stirring and adding more lemon juice (or water, to taste) until the icing is smooth and passes the globby stage; it should fall smoothly from the fork back into the bowl of icing. If not using right away, transfer to a small airtight container. (See TIPS for more on this process.)
Heat oven to 350°F. Slice the dough into scant 1/4-inch slices and arrange on a parchment-lined sheet pan, spaced evenly apart (they should all fit on one sheet pan and should only spread a little). Bake on the center rack of the oven, rotating pan once, for 15 to 17 minutes until deep golden on the bottom. Let cool on the pan for 5 minutes, and then transfer to a cooling rack to cool completely.
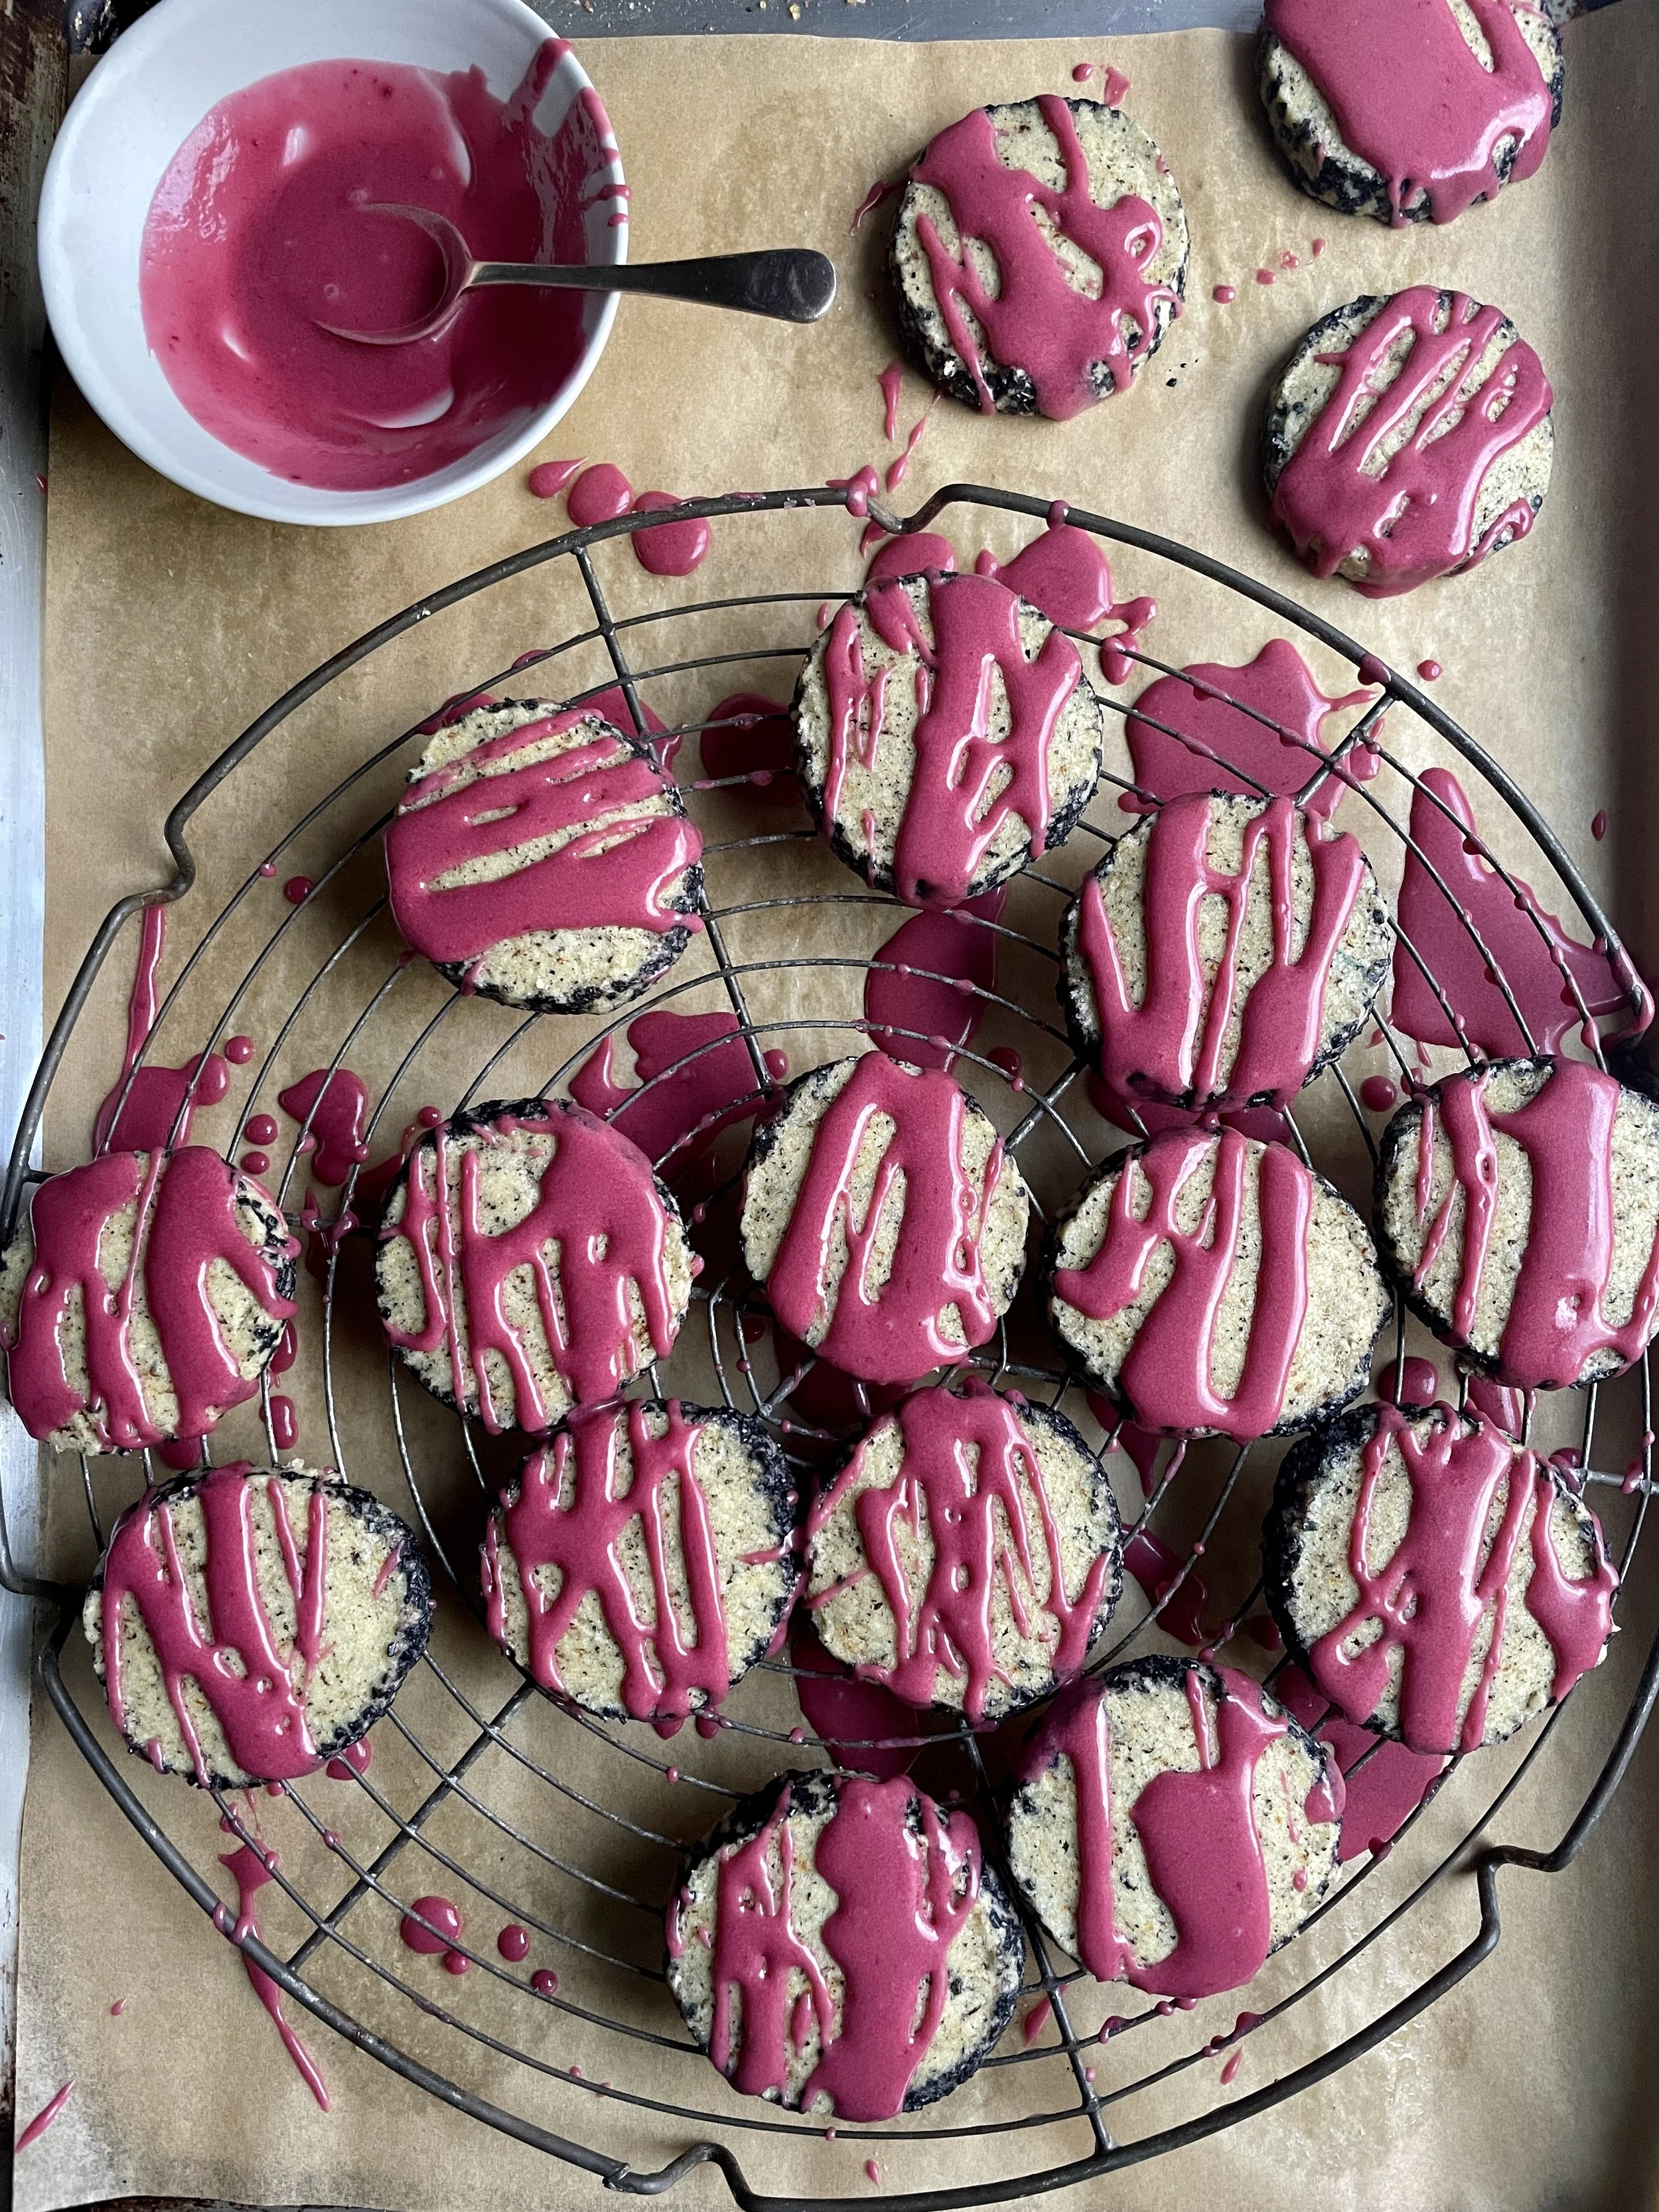
Set the cooling rack back onto the parchment-lined sheet pan you baked them on and drizzle with the icing. It will dry to a smooth glossy finish.
TIPS
Zest the oranges directly into the food processor so you can capture all the flavorful oils from the skin of the orange.
If you don’t have blood oranges, it’s fine to use one navel orange instead. It will yield more juice, but you can still boil it down to 1 tablespoon.
If using a navel orange, you can add a few drops of red food coloring to the glaze to achieve a nice shade of pinky-orange.
You can also try beet juice or pomegranate juice added to the navel orange juice before boiling it down to add color if you don’t have blood oranges.
This recipe can easily be doubled if you want a bigger batch.
You can roll and cut this dough with cookie cutters if you want.
You can roll the cylinder in any kind of coarse sugar, and you don’t have to crust it heavily. Just try to get a light but even coating, pressing it in to adhere.
The glaze can be made ahead and stored in a small airtight container for one day at room temperature and longer, refrigerated. Not only is this convenient, but the color deepens a bit too.
The icing will thicken a bit as it sits and as the melted butter sets up. If making ahead, you can adjust the consistency as needed by adding more liquid just before using.
It’s easier to add liquid slowly to the icing until you reach the right consistency, rather than making it too thin and having to add more sugar to thicken (which you can always do if needed to thicken it back up).